OBD2 Categories
Recent Articles
-
Troubleshooting: Autel Tablet VCI Bluetooth Connection Issues February 25, 2025
-
How to Transfer Ownership of Your Autel Device to Another Person? February 25, 2025
-
How to Reset Your Autel Account Password? February 25, 2025

New Releases
How to Use Autel G-BOX for Mercedes?
How to Use Autel G-BOX for Mercedes?
The Autel G-BOX is a powerful tool for working with Mercedes vehicles, especially when dealing with all keys lost scenarios. This guide will walk you through the steps to use the Autel G-BOX effectively, saving you time and effort during the key programming process.
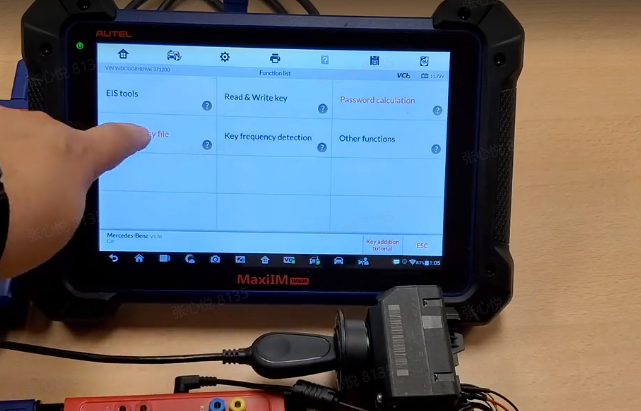
Step 1: Expert Selection > EIS Read Password
Start by selecting the "Expert Mode" on your device, then navigate to "EIS Read Password." Generally, you can note down the password manually, or the device will automatically save it if you do not exit the program.


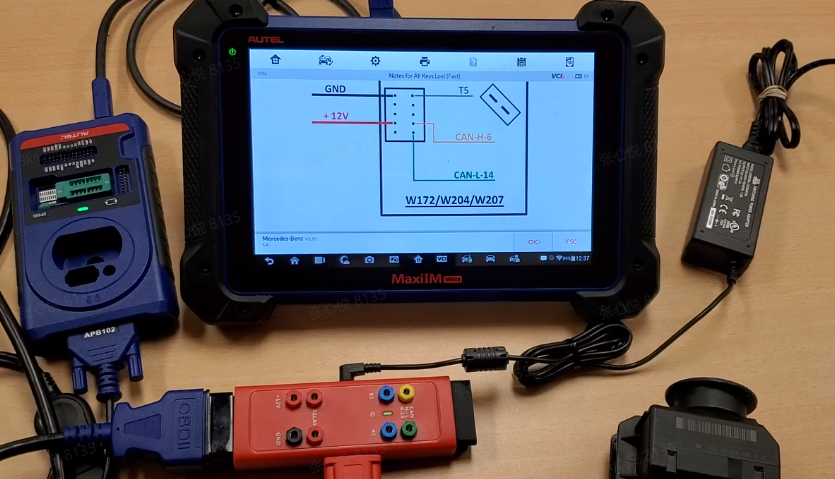
Step 2: Connect G-BOX2, JVCI, XP400Pro, and 12V Power Supply
Connect the G-BOX2, JVCI, XP400Pro, and a 12V power supply. The G-BOX2 eliminates the need for repeated plugging and unplugging, making the process more efficient. Once connected, you are ready to proceed.


Step 3: Connect APB102 with EIS
Next, connect the APB102 adapter to the EIS (Electronic Ignition Switch).


Step 4: Generate Key File
After the password has been successfully retrieved, proceed to generate the key file.

Step 5: Write Key Files to New Key
Once the key file is generated, write it to the new key. Ensure that the process completes without any errors.


Step 6: Key Test
After writing the key file, test the new key. If the vehicle does not start, try removing and reinserting the key several times before attempting to start the vehicle again.
What Is Happening During This Process?
This process simulates the actions of a key to retrieve data, reducing the time needed for programming. It essentially converts an "all keys lost" situation into one where new keys can be added directly.


